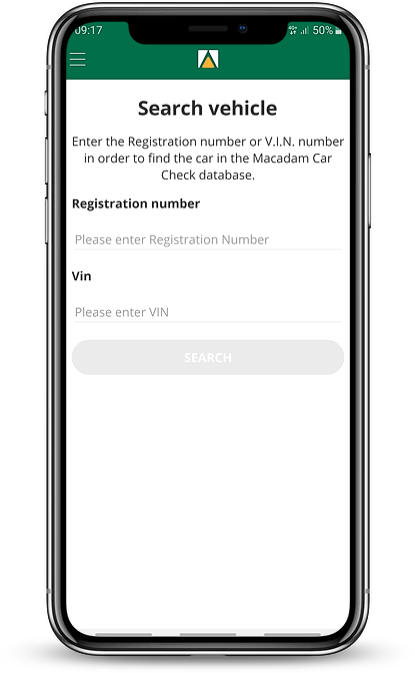
If you have an active account, have downloaded the app and are logged in, open the app. Enter the registration plate number (without dashes) of the vehicle to be checked under ‘Registration Plate’ and click on search in the screen that appears once the app is opened.
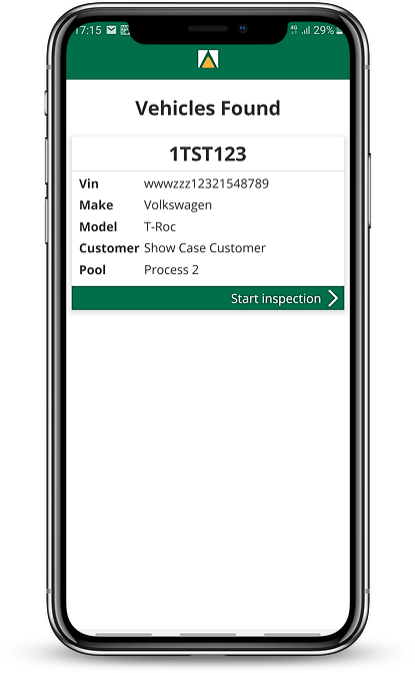
Click on ‘Start Car Check’ for the correct order.
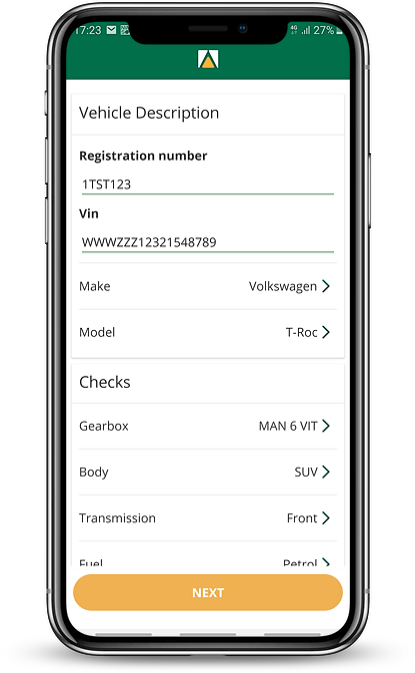
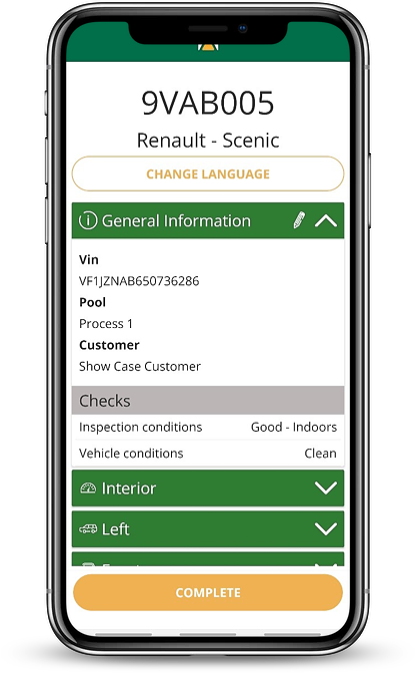
The app will set up the car check. Afterwards, a screen will appear with the registration plate number, chassis number, make and model. This data was already entered and must not be altered. Then click on the orange ‘Next’ button.
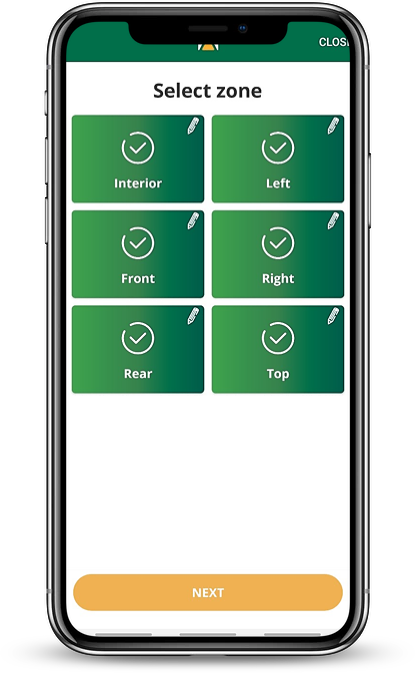
You have now arrived at the screen with six zones of the car displayed. Each of these six zones have to be completed before you can click on the next one. For each zone you will be asked to take pictures or to do a check. For each zone, you can also register damage with a photo.
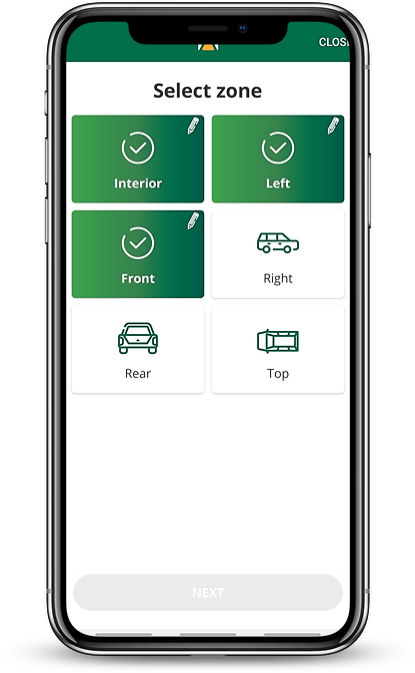
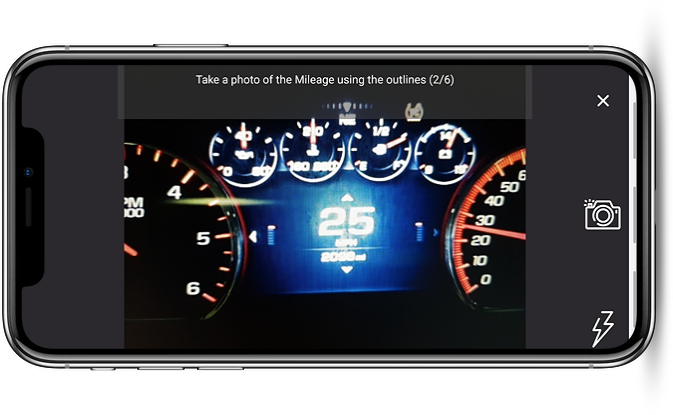
Once you’ve clicked on the ‘Interior’ zone, the app will switch to the camera to take pictures. Which photos need to be taken depends on the customer. Use the camera to focus on what you need to photograph (pictures below are an example). Click on the camera icon when you want to take the picture.
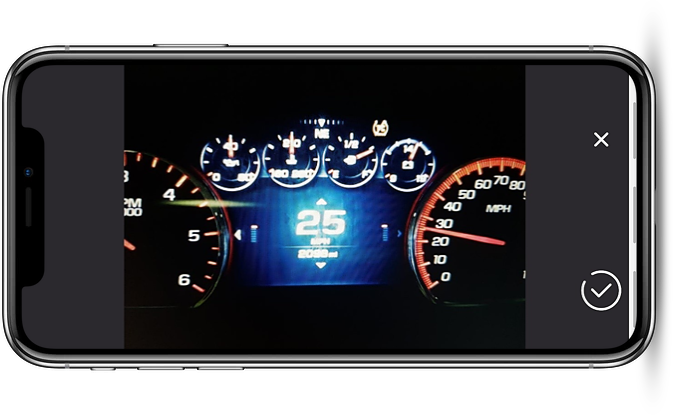
Then click on the ‘V’ icon to confirm that the photo is ok. If the photo is not good, you can click on ‘X’ to take the photo again.
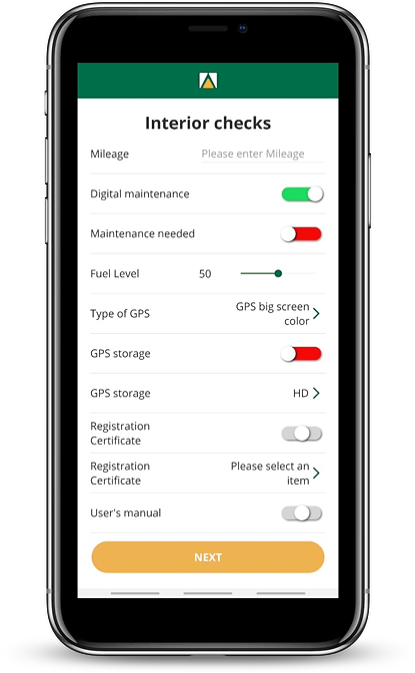
After this you will be asked to enter the mileage and to perform any checks. The type of check depends on the customer. After everything has been done, you can click on the orange ‘Next’ button.
Damage can be registered in the screen that appears. This can be done in two ways:
- by clicking on the photo that was taken;
- via the ‘Add damage’ button
In both cases, you will arrive at the same screen. You need to select an item and specify what type of damage it is. Then you have to take a picture of the damage under ‘Take a picture’. If desired, additional comments can be entered. Then press ‘Done’.
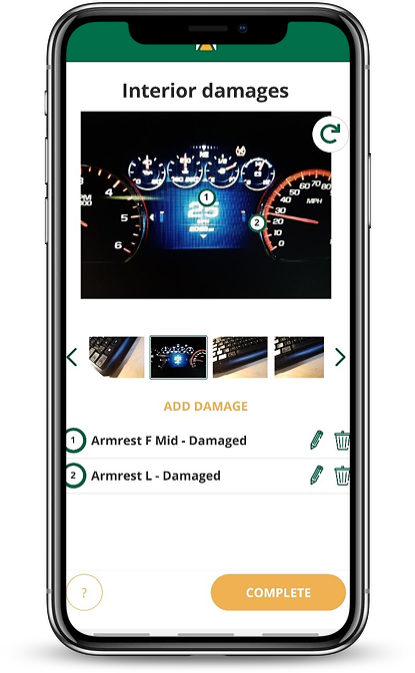
When you have completed a zone, you will return to the screen with all zones of the vehicle (see step 4).
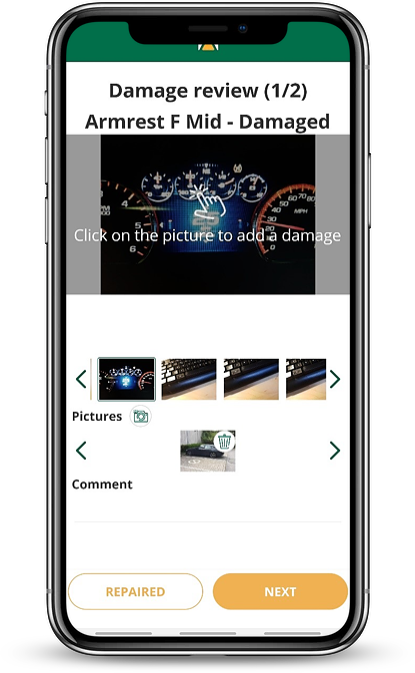
It is possible that the vehicle was already checked in the past. In that case, the app will show the damage from the previous car check with the photos from the previous car check. Then check if the damage is still present:
- If not present, click on ‘Repaired’;
- If still present, click on ‘Next’.
Once all zones have been completed successfully, they will all turn green and the bottom button will turn orange. Click on the ‘Next’ button.
A screen will appear with an overview of all checks and recorded damage. Click on the ‘Done!’ button.
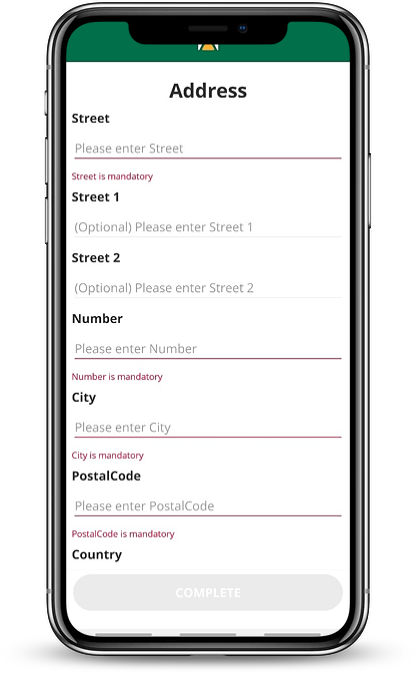
The app will then retrieve your location and display it. This makes it clear where the car check took place. If the location is not correct, this can be adjusted manually by clearing the fields and entering the address manually. Then click ‘Done’ again.
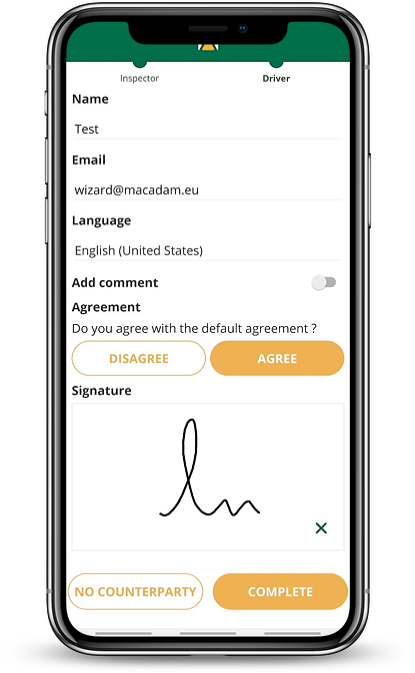
As final step, a signature must be entered by you and the driver (if present). Your signature must be entered under ‘Inpsector signature’ and comments can be added if desired. Then click on ‘Done’.
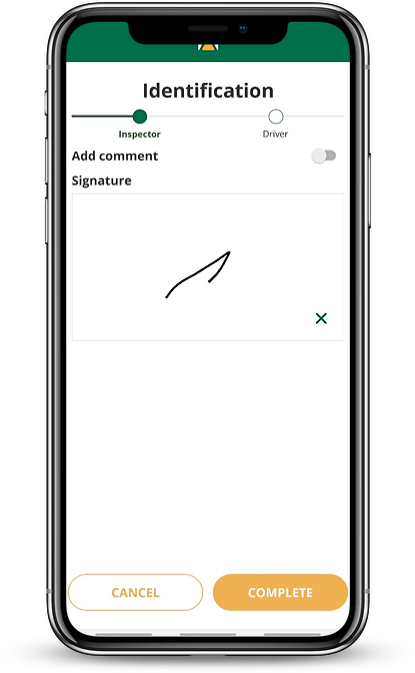
The driver’s signature must be entered along with the driver’s name, email address, language (Dutch is the default language) and any comments from the driver. The driver will receive the digital report by email. The driver can indicate whether he/she agrees or disagrees with the car check. The driver can then enter his/her signature.
If no driver is present, click on ‘No counterparty’. When everything has been entered, you can click on ‘Done’. The car check has now been completed and a message appears that the car check will be uploaded and processed.